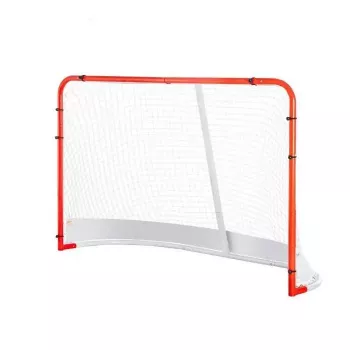
A reliable training net makes it easier to repeat swings, throws, and strikes without chasing balls or worrying about nearby windows, cars, or neighbors. A well-placed net creates a consistent “end point” for each rep, which is often the missing piece for building rhythm and control at home. Below are practical setup tips, features that matter in everyday use, and repeatable routines that work indoors or outdoors.
A multi-use training net is less about fancy gear and more about removing friction from practice. When retrieval time drops and safety improves, it’s easier to stick with short, frequent sessions that add up over weeks.
For general sports safety guidance—especially when kids are training—review recommendations from the Centers for Disease Control and Prevention (CDC) and the American Academy of Pediatrics.
The best location is the one that stays convenient. A net that’s quick to access (and doesn’t require moving a lot of items) tends to get used far more often than a “perfect” setup that takes 20 minutes to assemble.
| Location | Recommended clearance | Simple stability tip |
|---|---|---|
| Garage/basement | Room to swing/throw safely in all directions | Use non-slip pads or weights if the surface is smooth |
| Backyard | Clear lane to the net and a buffer behind it | Stake or weight the base if wind is common |
| Driveway | Keep distance from cars/windows | Position away from slopes; avoid aiming toward the street |
| Field | Out of main traffic flow | Face away from crowded areas; anchor if allowed |
Two nets can look similar in photos but feel very different once you start stacking hundreds of reps. Prioritize the parts that affect consistency, safety, and how often you’ll actually set it up.
If you’re setting up in shared areas (like a driveway or a community field), it’s also worth scanning the U.S. Consumer Product Safety Commission’s sports and recreation safety resources for general best practices.
A net makes it easy to structure training into small blocks. Keep notes on what you did (reps, distance, and target zone) so “practice” doesn’t turn into random swings or throws.
To make these sessions more repeatable, mark a “start line” on the ground (tape indoors, chalk outdoors) and pick one simple target (a small towel or taped square) so each rep has a clear aim point.
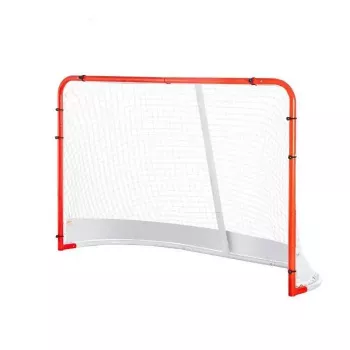
For a versatile option that works across home and outdoor practice spaces, the Indoor & Outdoor Training Net is designed for repeated reps where safe ball capture and quick reset matter. It’s a practical choice when full-field access is limited and you want consistent, repeatable practice on your schedule.
| Item | Details |
|---|---|
| Name | Indoor & Outdoor Training Net |
| Price | $98.01 USD |
| Availability | In stock |
Yes, when there is adequate clearance for the motion and a stable base. Use softer balls if needed, protect floors with a mat, and keep the net away from windows and breakables.
Leave enough buffer so an occasional miss or rebound can’t reach a wall, car, or fragile items. Outdoors, plan for extra drift in wind; indoors, prioritize side clearance for swings and throws.
Place the net on level ground, angle it slightly back, and add base weights or stakes if permitted. Avoid setting up in wind tunnels between buildings or in exposed corners that catch gusts.









Leave a comment