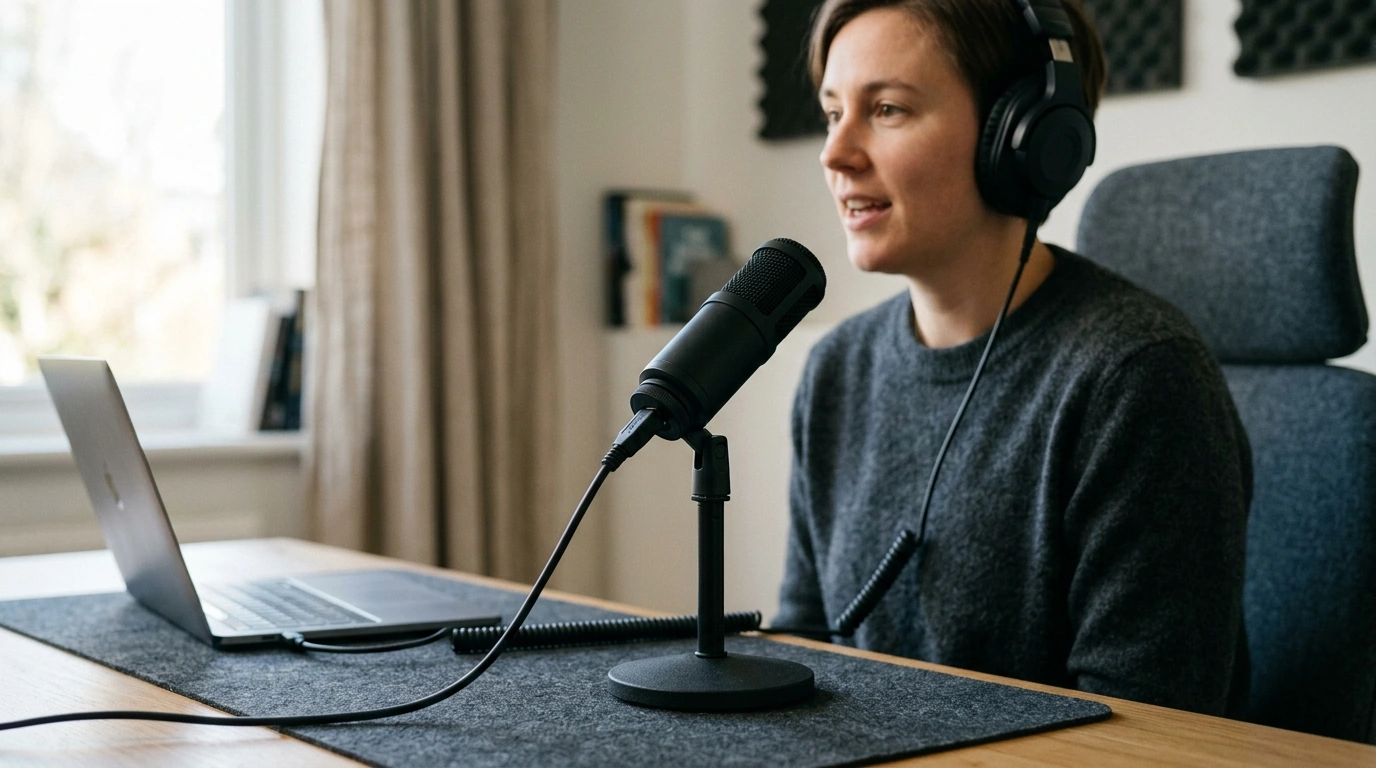
A USB desktop microphone can dramatically improve clarity over built-in laptop mics for calls, streams, and voice recording—without requiring an audio interface. The biggest advantage is simple: you can place a better microphone closer to your mouth, which boosts intelligibility and reduces the amount of room sound your listeners hear. Below are the practical factors that matter most (pickup pattern, placement, monitoring, and room control), plus quick setup steps for Windows and macOS and repeatable starting settings. For more guidance, see Best USB Mic for Podcasting in 2026? Costs, Build, & Audio Quality.
A purpose-built desktop mic typically uses a higher-quality capsule than a laptop microphone and gives you the freedom to position it correctly. That translates to a more natural voice, fewer “hollow room” artifacts, and less distracting background clutter. For further reading, see The Best USB Microphones for 2026 – PCMag UK.
For most home offices and bedrooms, a cardioid-style pattern is the practical choice because it focuses on sound in front and reduces sound from the rear. Omnidirectional patterns capture more room tone, which can be useful for group recordings but is less ideal in noisy spaces.
Zero-latency monitoring lets you hear yourself in real time. It’s one of the fastest ways to stop over-driving the mic (too loud) or under-speaking (too quiet) because you’ll instantly notice when your voice changes.
Physical knobs and buttons are underrated for live use. A quick mute during a cough or a fast gain trim mid-meeting is easier than digging through app menus.
Higher settings can help in production workflows, but clean capture, stable levels, and good placement will improve perceived quality far more than chasing the highest numbers.
A solid stand reduces desk-bump vibrations. If you don’t have shock isolation, placing the mic stand on a dense mat can help. A boom arm can further decouple the mic from typing vibrations.
If you need step-by-step help inside common apps, these official guides are useful starting points: Zoom Support, Microsoft Teams Support, and OBS Studio Documentation.
| Use case | Mic distance | Goal | Typical tweaks |
|---|---|---|---|
| Online meetings | 6–10 in (15–25 cm) | Clear, natural voice | Moderate level, avoid heavy processing |
| Podcast voice track | 4–8 in (10–20 cm) | Full tone with low noise | High-pass filter, light compression |
| Live streaming | 4–10 in (10–25 cm) | Consistent loudness | Light compression, careful gate/noise suppression |
| Quick screen recordings | 6–12 in (15–30 cm) | Fast setup, intelligible speech | Minimal tweaks, stable input level |
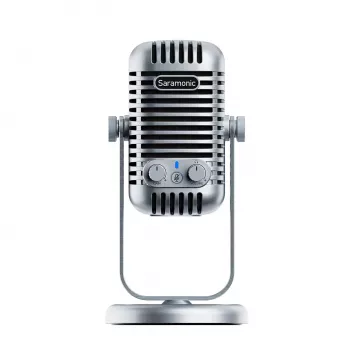
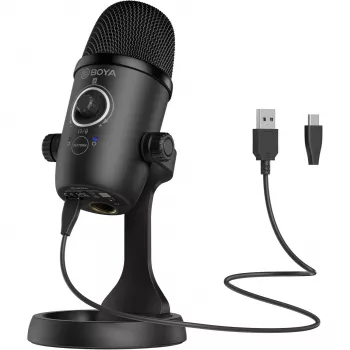
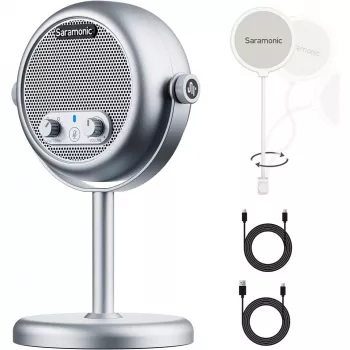
If you want a single-device solution that’s easy to connect and quick to switch between apps, consider the USB Desktop Microphone for Podcasting, Streaming, Recording & Online Meetings. It’s a straightforward way to get clearer speech for home offices, study setups, and creator desks without adding an external interface to your workflow.
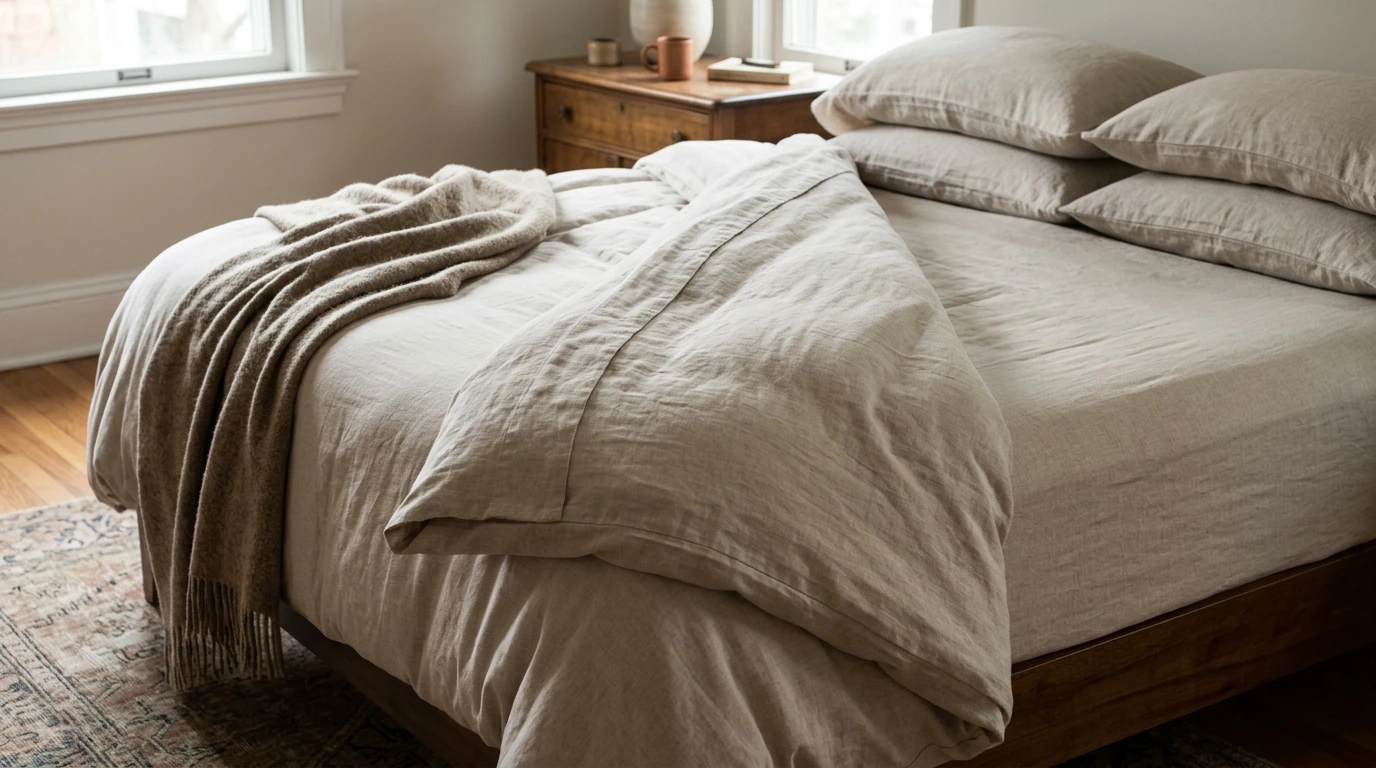
For best results, pair your mic with closed-back headphones for monitoring and add a simple pop filter if plosives are common. If your room is lively and echo-prone, adding soft textiles near hard surfaces can also help; a plush fabric set like the Luxury Double-Sided Velvet Bed Skirt Set – 4pcs Plush Winter Bedding can double as a convenient soft-material layer in a space where you need to tame reflections.
Yes—most USB mics are plug-and-play, and you simply select them as the input in your system settings and again inside each app. Consistent placement and distance usually improve clarity more than advanced processing.
A good starting range is about 4–10 inches from your mouth, with the mic slightly off-axis (angled a bit to the side). If you still get “p” pops, add a pop filter and use a high-pass filter to reduce low-frequency thumps.
A USB mic is enough for many podcasts, especially for solo or single-speaker recording. An audio interface becomes more helpful if you need XLR microphones, multiple inputs, or more advanced routing and monitoring control.








Leave a comment