A USB microphone kit with an arm stand is a practical upgrade for gaming chat, streaming, and calls because it improves mic placement, reduces desk clutter, and simplifies setup. The biggest quality jump usually comes from getting the microphone closer to your voice (without cranking the gain), which helps you sound clearer and less “roomy.” Below is what to expect from a complete kit, how to position it for consistent voice pickup, and how to fine-tune settings for a smoother sound across Discord, OBS, and everyday meetings. For more guidance, see Reviews by bowei006 | Page 2 – Head-Fi.
What a complete USB gaming microphone kit usually includes
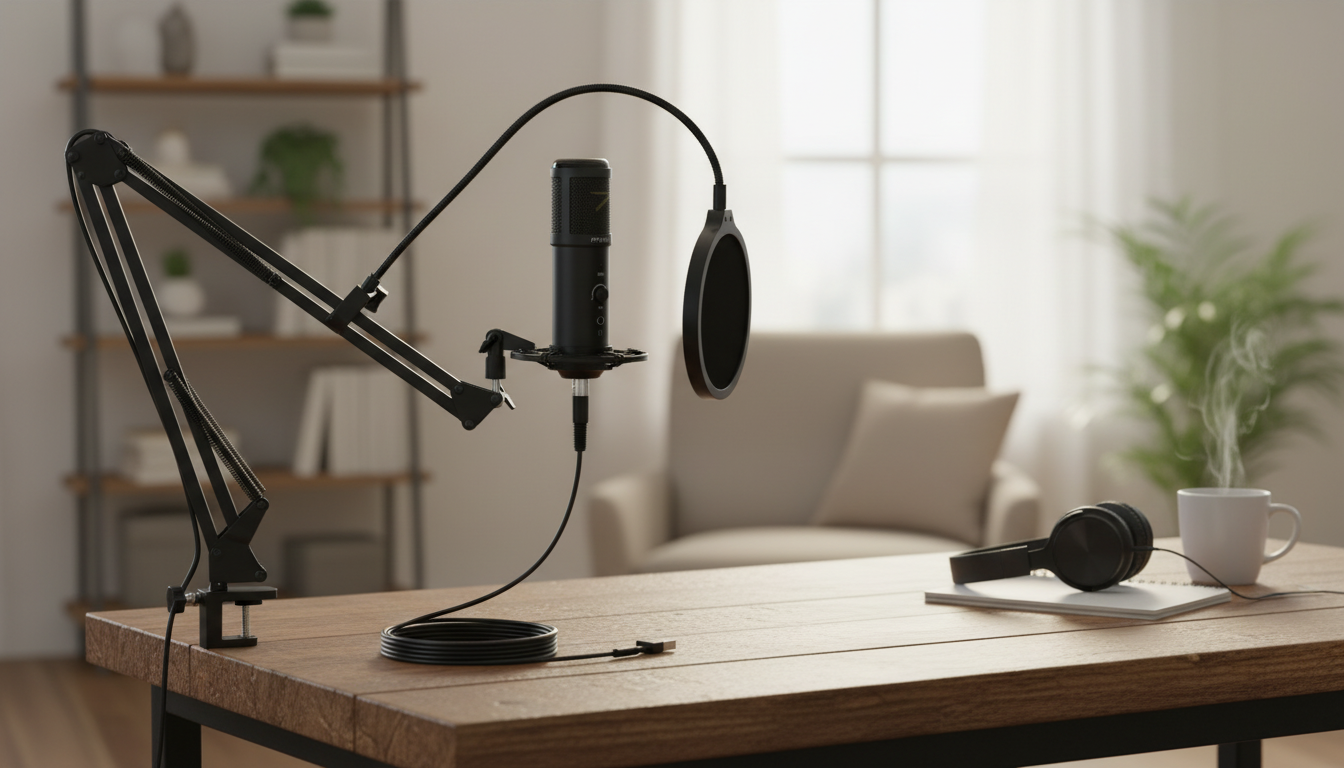
Most kits are built around convenience: you clamp the arm to your desk, connect one USB cable, and you’re ready to talk. While exact accessories vary, a well-rounded bundle typically covers the core pieces you’d otherwise buy separately. For further reading, see Ram ball installation for phone mount – Toyota 4Runner Forum.
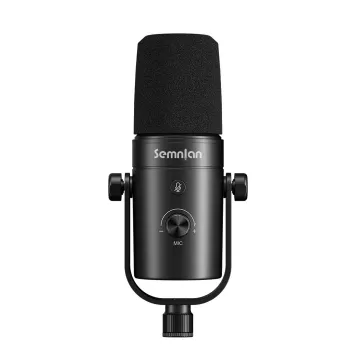
- USB microphone designed for quick plug-and-play connection to a computer.
- Arm stand that clamps to a desk to keep the microphone positioned at mouth level without occupying desk space.
- Shock mount and/or pop filter (varies by kit) to reduce bumps, vibrations, and harsh plosives on “P” and “B” sounds.
- Cables and mounting hardware so the kit can be installed without extra accessories.
- Common control features to look for: gain/volume knob, mute button, and headphone monitoring (feature availability varies).
Kit parts and why they matter
| Component |
What it does |
Practical benefit for gaming/streaming |
| USB microphone |
Captures voice and sends audio digitally over USB |
Simple setup with consistent signal to apps and games |
| Arm stand (desk clamp) |
Holds the mic in a stable, adjustable position |
Better positioning reduces room echo and keyboard noise |
| Shock mount |
Suspends the mic to reduce vibration transfer |
Less rumble from desk bumps and arm movement |
| Pop filter / windscreen |
Diffuses bursts of air from speech |
Fewer “pops” and harsh breath noises |
| USB cable + mounting hardware |
Connects and secures the setup |
Faster installation and fewer missing parts |
Why an arm stand can improve voice clarity
An arm stand isn’t just a desk-space upgrade. It makes it easy to keep your microphone in the “sweet spot,” which is where clearer voice pickup typically starts.
- Distance control: positioning the mic about 6–10 inches from your mouth can increase voice presence while lowering room reflections.
- Angle control: aiming the mic slightly off-axis (not directly in front of your mouth) can reduce plosives and sharp “S” sounds.
- Noise separation: bringing the mic closer allows lower gain, which often reduces keyboard clicks and PC fan noise.
- Comfort and consistency: a stable position keeps levels predictable across longer sessions, so you don’t fade in and out as you move.
Placement and setup tips for a quieter, more focused sound
Good placement can do more than a long chain of filters. Set up the hardware first, then handle software tweaks after your mic technique is consistent.
Dialing in settings for gaming chat, streaming, and voice calls
- Set gain by speaking volume: start low, then raise it until normal talking hits a healthy level without clipping (peaking into the red). If you get loud during hype moments, leave extra headroom.
- Use noise suppression lightly: too much can create a watery, “pumping” sound. If you use Discord or OBS suppression, adjust until it’s subtle. Discord’s official troubleshooting steps can help verify device selection and levels: Discord Support: Voice and Video Troubleshooting.
- Try a noise gate (if available): it can reduce background noise when you’re silent, but set the threshold low enough that it doesn’t chop off softer words at the start of sentences.
- Add light compression: a little compression smooths volume swings so teammates and viewers don’t ride the volume knob. Aim for modest reduction rather than a “radio” squish.
- Monitor with headphones: if your mic supports direct monitoring, use it. If not, use system/OBS monitoring so you can catch plosives, room echo, and clipping early. For streaming setups, the OBS Studio Wiki is a reliable reference for filters and audio routing.
USB microphone kit vs dynamic microphone: which fits the desk setup
Care, durability, and desk hygiene
Product options to complete your setup
FAQ
How far should a USB gaming microphone be from the mouth?
Start around 6–10 inches, then adjust closer if you need more voice presence or want to reduce background noise. If you move closer, lower the input gain and keep a little space between your mouth and any pop filter so plosives don’t spike.
Do I need a pop filter if the kit already includes a windscreen?
A windscreen helps, but a pop filter can further reduce strong “P” and “B” bursts, especially when you’re close-miking. Try the included accessory first, then add the other if plosives still come through.
Why does my microphone pick up keyboard and mouse clicks?
Usually the mic is too far away, the gain is too high, or the mic is aimed toward the keyboard. Bring the mic closer to your mouth, lower the gain, angle it slightly off-axis, and use a noise gate if available; adding a desk mat or quieter switches can also help.
Recommended for you


Leave a comment